Upholstered Milk Crates
As usual I procrastinated on deciding what I wanted to get people for Christmas. By the time I got around to looking at my sister's Wishzilla, there wasn't much left and not much that was very inspirational. I happened to think of looking at her Pinterest instead, and while it was mostly outdoor landscaping ideas, there was just enough there to give me an idea.
If you follow me on twitter you probably saw I was messing around with OSB and experimenting with what kind of joinery I could get away with. I had been thinking about making milk crates for myself and after seeing my sister's Pinterest I thought there might be a way that I could make some for her. I really liked the ones that Matthias Wandel made, but even he admitted that they were way too much work. Not something I was going to do last minute.
Since my original idea for making crates was to make a lot of them, I had planned on using the cheapest material I could think of: OSB. However it's really not all that attractive. I could use nice wood, but then there's all the fancy joinery and detailing. Suddenly I hit on the idea of sticking with the OSB but instead of painting them, I would upholster them! I was a little concerned that the insides would be unattractive, but I felt that for the most part people would only see the outsides and it would make up for the less attractive interior.
I did lots of searching on the internet to see if anyone had done anything similar and couldn't find much. Ottomans were close, they are essentially a crate, but inverted. But because of the inversion there are different techniques used which doesn't leave an attractive interior so they didn't really apply. I had come up with some ideas of how I could do it, but until I tried it I didn't know how hard it might be.
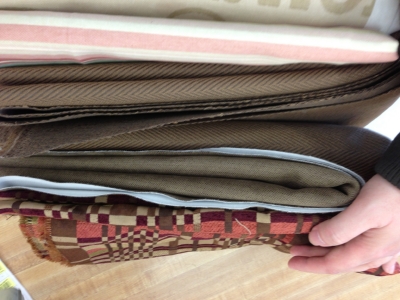
 My selection of fabrics
I went to the fabric store to find some material and see what kind of upholstery supplies they might carry. I got lucky and it turned out they had some upholstery supplies, including the decorative tacks that can be used in exposed areas. I also got some small tacks that I might be able to use in a hidden area. They had rolls of cardboard you could use for making tack strips, but for the price I figured I could scrounge some cardboard from my recycle bin.
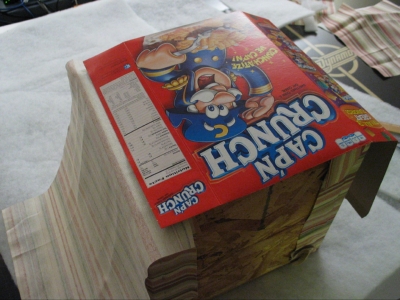
Putting on the first two sides of upholstery was fairly easy since I didn't need to try to hide any of the staples at this stage. The next two sides were trickier. The challenge was to try to hide the staples that would be on top of the fabric from the first sides. My plan was to fold the fabric under itself and somehow insert some tacks in there. The idea was I would cut a strip of cardboard and put some tacks in it to make my own tack strip, then fold the fabric over it, and then somehow nail it down while keeping it tight.
 Me & the Cap'n are gonna make it happen!
Getting the home made tack strip to stay in place on the fabric was quite a challenge. It was hard to gauge where to place it, and every time I went to poke another tack through one of the previous tacks fell out. Eventually though I managed to get the fabric folded around it. Hammering it down was a bit of a trick too. For the other two crates I opted to use the decorative exposed tacks which made it a little easier but it was still a challenge getting it pulled tight.
Over all I think they came out great! I used 1x2 douglas fir strips for the feet and made my own trim to cover the interior staples from a 2x4 that I put a slight bull nose onto. I had tried to find trim at the store but nothing they had was quite right. The thing I still felt was kind of ugly was the printing on the inside. I turned the OSB so the smooth side was in, but that's the side the factory uses to print all kinds of information about the product.
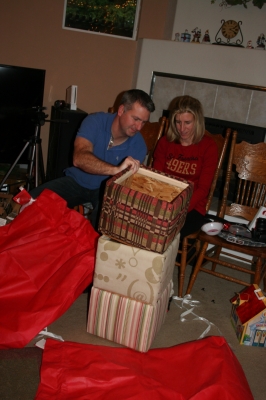
 My sister and her husband think about all the things they are going to fill them with
My sister was thrilled with them! I was expecting a "where did you get these from?" to which I could proudly reply "I made them!" but being from a family of makers, everyone just started asking questions about how I had made them! Oh, and as it turns out, my sister actually thought the factory printing on the inside was "cool!"


